Fix a Running Toilet in 10 Minutes | Toilet Repair - Replace Fill Valve
Toilet repair is easier than most people think. If you have a running toilet tank, this running-toilet fix — replacing the fill valve — is for you.
Equipment You May Need
Worth the fix?
Anyone can do this and save a lot of money
The Fix
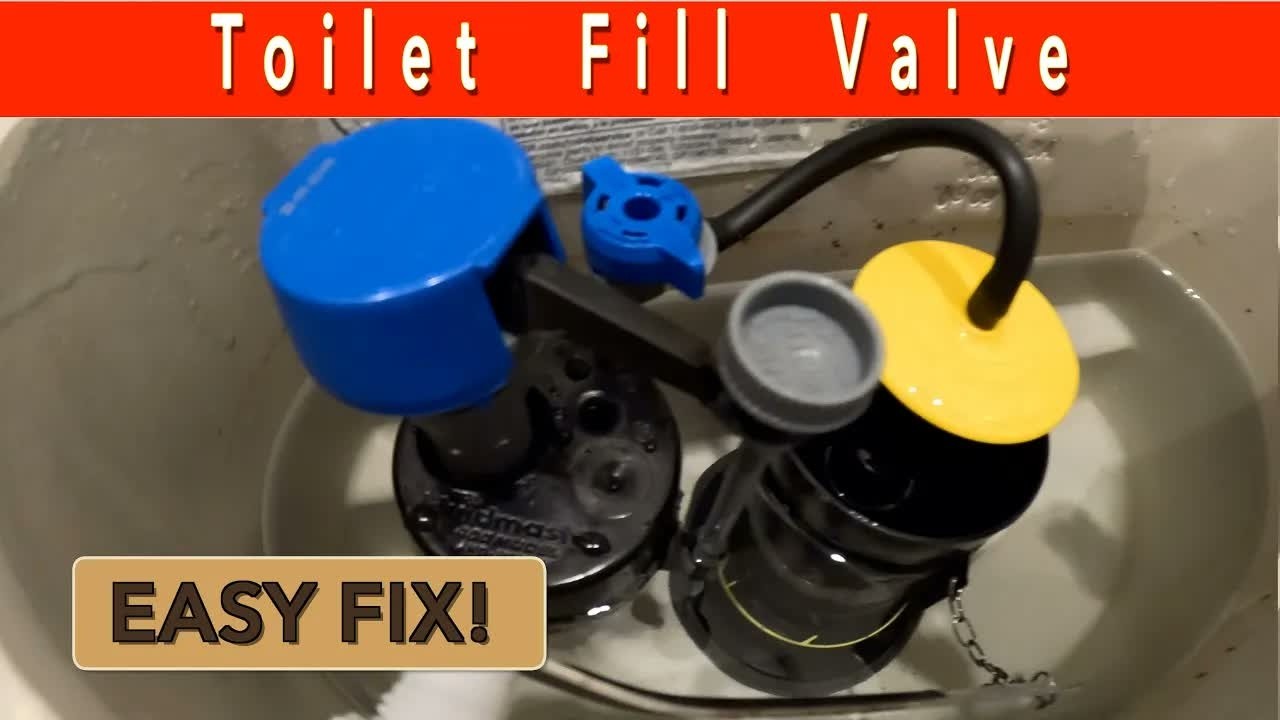
Check the canister replacement guide to see if it's your canister/flapper that is leaking. If the flapper test comes back clean but water is still trickling into the overflow tube, the fill valve — not the flapper — is the part that's failed. Good news: it's still a cheap, quick fix. This is the other main component of your toilet tank. It's where the water comes into your toilet tank and gets regulated for proper water height, flow, etc.
There are a few parts to it. The majority of the fill valve is the actual valve itself with is the long tube-like structure on the left side of tank. The bottom of the fill valve sits on a gaskets that keeps the water in the tank and connects to your water line. If you have water on your floor around your toilet, this gasket may be the problem.
The other main component is the float mechanism. On the old-school toilets this was typically a metal rode with large metal ball on the end. When the ball (filled with air) got pushed up by the tanks water, it was close the fill valve completely stopping the water. To adjust these we would typically just bend the metal bar. Modern toilets typically have a float attached to the valve itself. Usually a ring around the fill value that slides up and down the fill valve.
Check this float mechanism first and try to adjust. There are many different fill valves our there so we can't list how to adjust them all. If adjusting the float doesn't stop your water from constantly running then it's probably time to replace your fill valve.
The Fix, Step by Step
Put a bucket under the toilet where the water line connects to toilet tank -- it will leak water!
- Shut off the supply valve behind the toilet
- Flush to drain most of the tank (hold the flush lever down a few extra seconds)
- Disconnect the supply line. You may need some pliers, channel locks, or adjustable wrench for this
- Remove the nut from the protruding fill valve (usually a large plastic nut) and possibly a washer
- Make sure your bucket is ready and directly under the fill valve!
- Inside the tank remove the water hose from fill valve to canister/bowl entry area and anything else attached to fill valve
- Gently lift out the fill valve. Any remaining water in tank will run out of through-hole for fill valve
- Clean up bottom of tank while it's empty and dry area around fill valve through-hole
- Replace new fill valve 9a. Add new gasket to inside of tank on the through hole (your fill valve may already have the gasket/washer attached to bottom) 9b. Put fill valve through hole and adjust so that it fits properly in tank and doesn't interfere with anything 9c. Attach new fill valve nut (and washer if provided) to outside of tank and tighten with hands. Give 1/4 ~ 1/2 turn with pliers 9d. Attach water line to fill valve and tighten 9e. Attach new hose to canister/bowl filler (and to fill valve if not already). Trim hose if its too long
- Turn on water slowly and check for any leaks. Allow the tank to fill completely
- Adjust the float so the water line is just below overflow
Getting the Height Right
The one step that trips people up: setting the fill valve's water level correctly so it stops just below the overflow tube. Too high and it'll run constantly into the overflow; too low and the bowl won't refill properly after a flush. Most kits have an adjustable float you can raise or lower without tools.