I Struggled Replacing My Honda Odyssey Rear Hub Bearing Assembly | But Saved $700
The mechanic quoted $900+ to replace the rear hub bearing assembly on my 2010 Honda Odyssey. I did it myself in an afternoon — and here's exactly how.
Worth the fix?
Safety-critical part — don't attempt this without a torque wrench and rated jack stands.
The Fix
A grinding, humming noise from the rear of the van that got louder with speed is the classic symptom of a failing wheel hub bearing assembly. In fact, the car was so loud when driving that we'd gotten used to it and just assumed it was old. So after fixing it and taking it for a test drive, the quietness of the car was a bit concerning. I was so used to how loud the car was that I didn't realize how bad the bearings actually were until after I fixed them! This is one of those safety items you really don't want to wait to fix. In my defense, we don't drive this car much anymore. But it did become our daughter's primary car for a few months (until this incident), so I'm glad we got it fixed. But as a dad who fixed all the minor things before she was driving (rotors, brakes, wipers, etc.) - I kinda dropped the ball on a big one!
Why This Repair Is Worth Doing Yourself
When our car was deemed a "total loss" after the driver's side door and quarter panel were damaged, we needed a safety inspection to get a salvage title and keep the car. We had a choice: total the car and get a different one, or collect a little less insurance money and keep the car (if we passed inspection and got a salvage title). We decided to keep the car and fix it ourselves. So instead of giving the car to a salvage yard, we kept it, got our insurance money, and bought our daughter a new car with the leftover cash. Not a bad deal. Basically, we got a free Mini Cooper out of it.
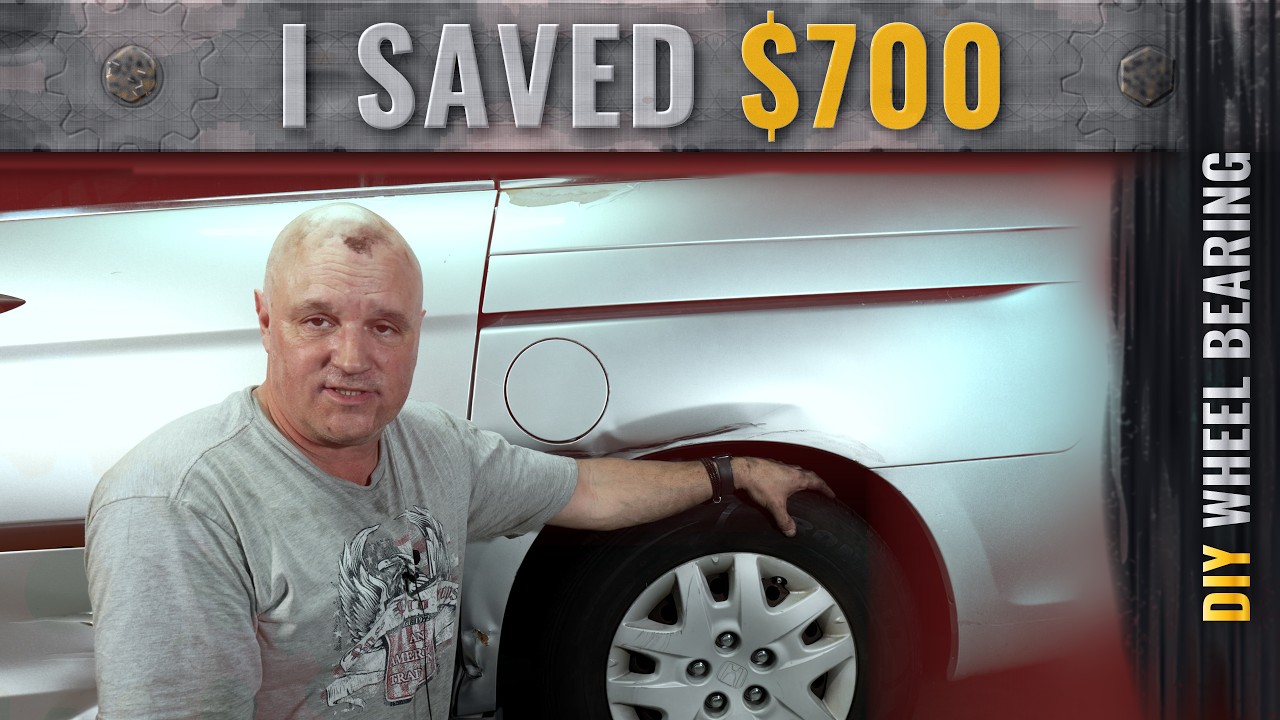
The shop quote was north of $900 — mostly labor. The part itself is a fraction of that. A hub bearing assembly on a Honda Odyssey is a bolt-on unit — it's not the old-school press-in bearing job that needs a hydraulic press and specialty tools. That's exactly why the labor markup stings so much: it's a handful of bolts, not a machine shop operation. A jack, jack stands, a torque wrench -- you get the point. List of items needed and links at top of page. It does require some patience and gumption if you're new to this stuff like me. And if you noticed from the thumbnail, a good pair of gloves and rags go a long way!
Believe it or not - the same thing happened to the new Mini. A rear-end hit-and-run also deemed the Mini a "total loss". But we did the same thing: fixed it, salvaged it, kept the cash. Those videos of that fix hopefully will come soon (takes longer to edit content than it does to fix the car!).
What Actually Made It Hard
The struggle wasn't the bearing itself — it was corrosion and space. Ten-plus years of dirt and vibration make things tough to loosen. Being old and inflexible doesn't help with the tight spots and crawling around. But if you don't mind the dust and grease, it's not that bad. Once everything is loosened and removed, the rest is pretty straightforward: clean up, line up, bolt up, tidy up, done. Okay maybe a little more than that but not too much. Watch the video and see -- if I can do it, you can do it.
Safety Note
A wheel hub bearing is a safety-critical part — it's one of the few DIY jobs where "close enough" isn't good enough. Torque every fastener to the manufacturer's spec, always support the vehicle on rated jack stands (never a jack alone), and if a bolt looks damaged or won't torque properly, replace it rather than reuse it.
The Honda Fix List
Salvage/Inspection List
- Rear Top Brake Light
- Brake Light
- Rear Wheel Bearing Assembly
- Front Struts - still editing
- Lower Control Arms - still editing
- Rear Shock Dampener - still editing